Generate reports
We offer a variety of different reports containing information about your payments and accounts that you can generate on-demand or schedule from the Reports page in the Client Portal.
| Reports | Description | Available formats |
|---|---|---|
| Account activity report | The report provides details of all bookings on a specific account within a given date range. This report uses the booked balance. | CSV, JSON, MT940 |
| Account bookings statement | The report provides a list of bookings on a specific account within a given date range, based on transaction date balances. | |
| Account report | The report provides a comprehensive, structured intraday data of account activity for reconciliation, cash management, and financial reporting. | CSV, JSON, CAMT.052.001.08 |
| Account statement | The report provides a comprehensive, structured end-of-day data of account activity for reconciliation, cash management, and financial reporting. | CAMT.053.002.08 |
| Consolidated account statement | A report with a unified overview of balances across multiple accounts, designed to support reconciliation, financial reporting, and audit requirements in a single document. | |
| Payments held in sanctions | Payments to selected accounts that are held in sanctions screening at the time the report is generated. | CSV, JSON |
| Reconciliation report | List of payments and extensive details within a given date range. | CSV, JSON |
| Unprocessed payments | Provides a list of unprocessed payments on a specific date. | CSV, JSON |
Reports can be generated for both Active and Closed accounts. Closed accounts are clearly labelled in the account selection dropdown, as shown in the screenshot below.

Generating reports
Before you start, ensure that you have been assigned the Create and schedule reports permission.
You can generate reports from the Reporting section.
- On the left side menu, select Reports and click on Create report
- Select the report you wish to generate (See Fig 2)
- Fill in the required fields and select the required format
- Click the Generate button
Your report may take some time to generate, depending on the size and number of reports being generated at the same time.
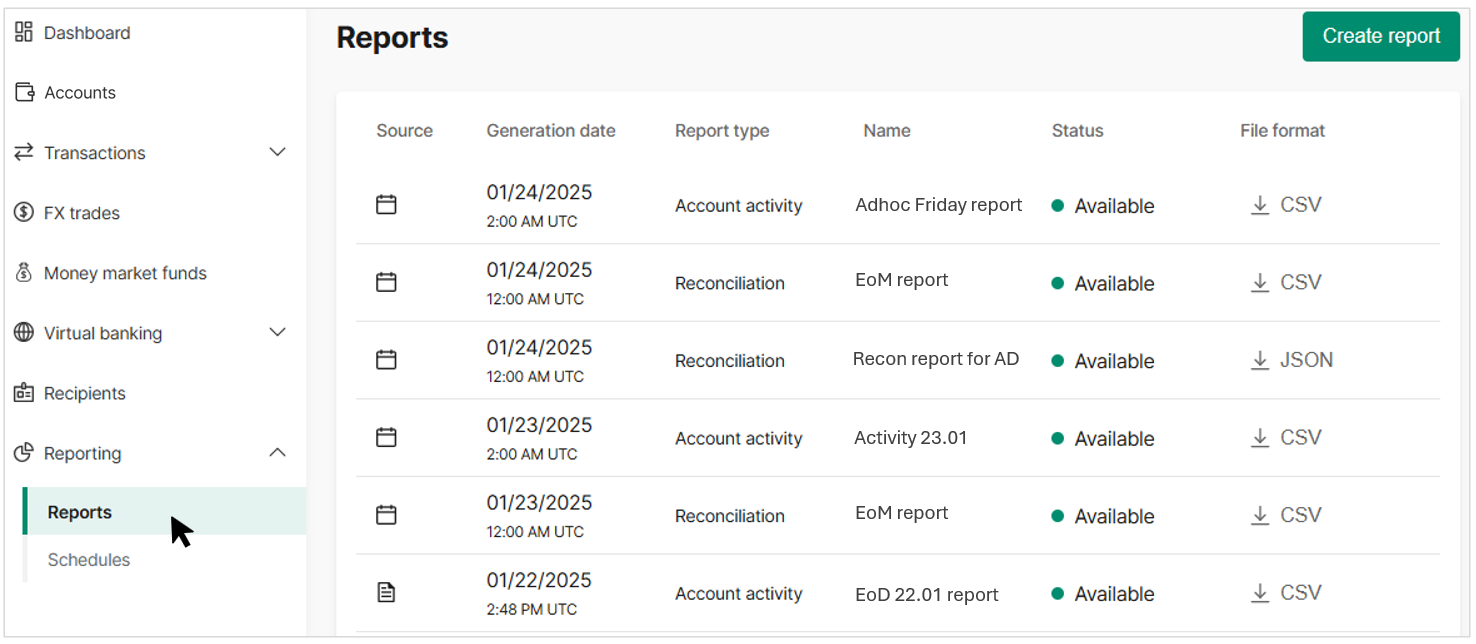
Fig 1. Navigate to Reporting
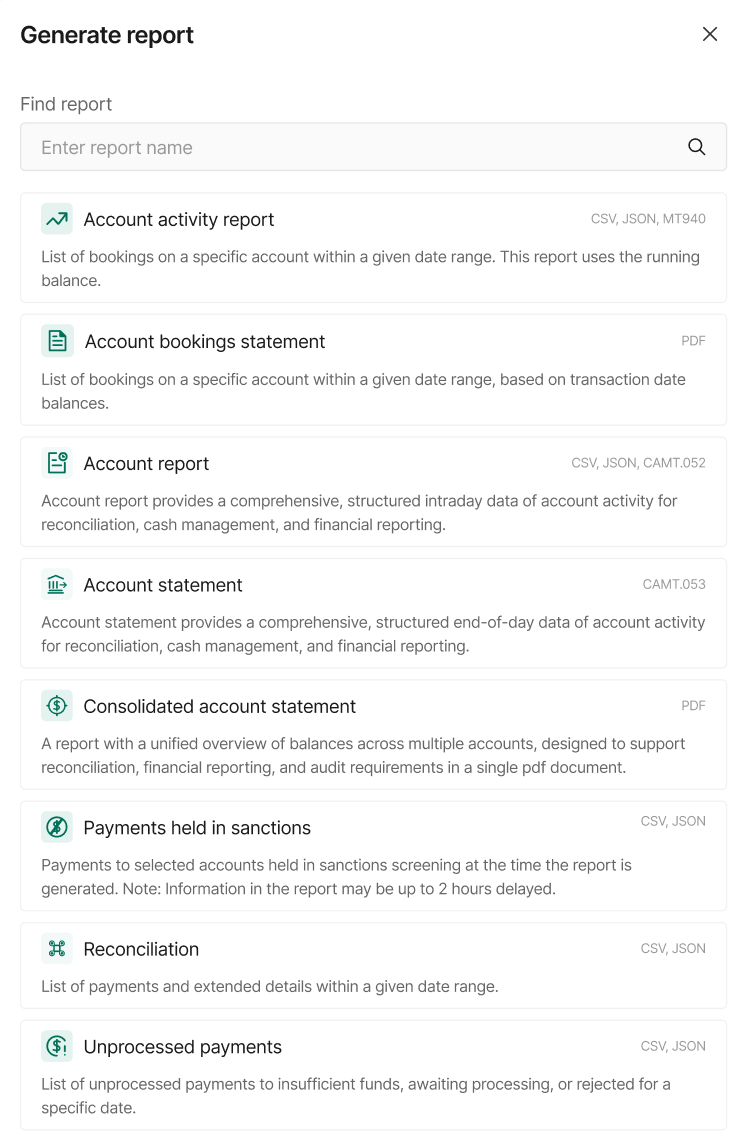
Fig 2. Select report to generate
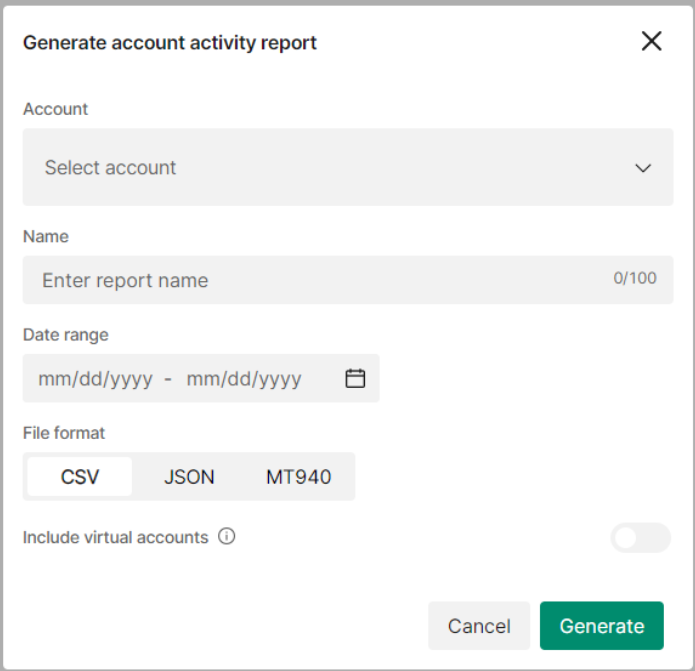
Fig 3.1 Generate report

Fig 3.2 Report will be downloadable once it has finished generating
Scheduling reports
You also have the option to schedule reports, allowing you to automatically generate reports for the following report types:
- Account activity report
- Account report
- Account statement
- Payments held in sanctions
- Reconciliation
- Unprocessed payments
Note that the following reports cannot be scheduled:
- Account bookings statement
- Consolidated account statement
You can schedule reports from the Reporting section:
- In the left side menu, under Reporting, select Schedules.
- Select the report you wish to schedule (See Fig. 4).
- Fill in the required fields and choose the desired format.
- Click the Generate button.
- A confirmation message will appear (See Fig. 6)
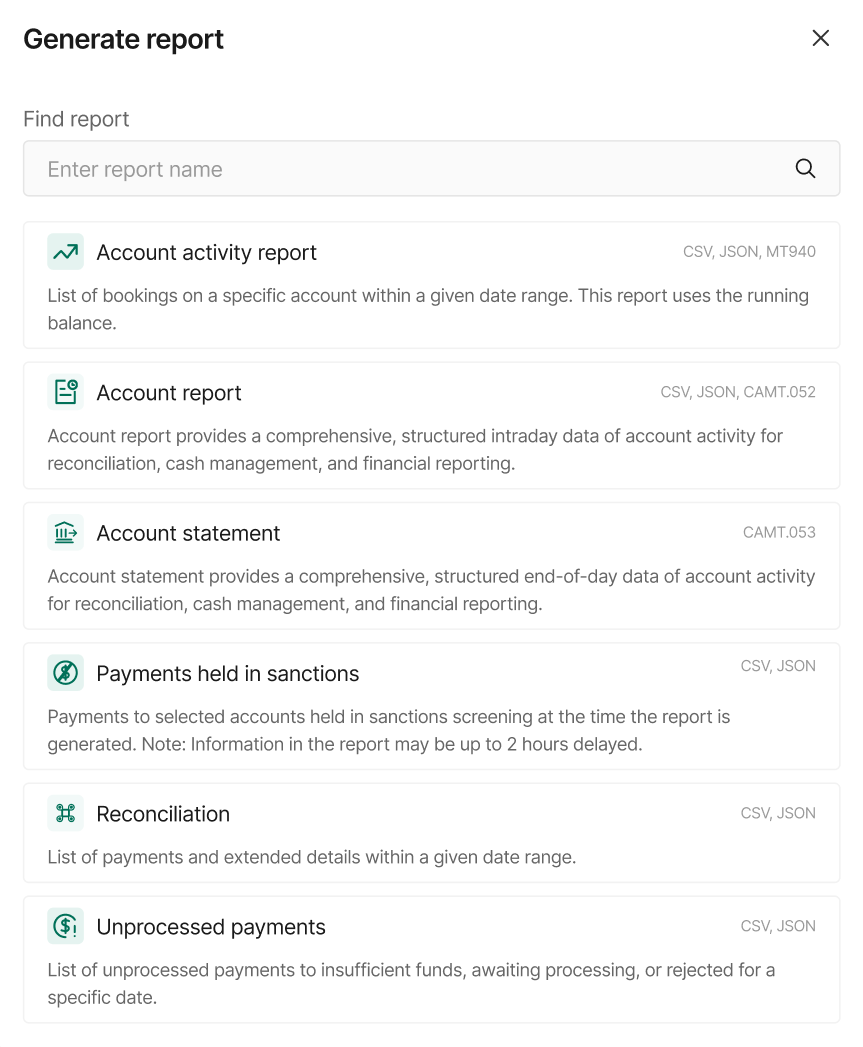
Fig 4. Select schedule for reporting
Assign a name to the schedule, set the frequency, activation day, format, and other options as needed. Note that these options may vary depending on the report (see Fig. 5).
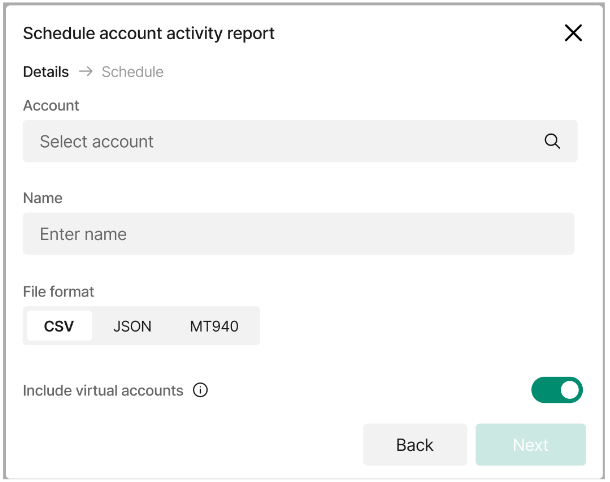
Fig 5. Activity report schedule options
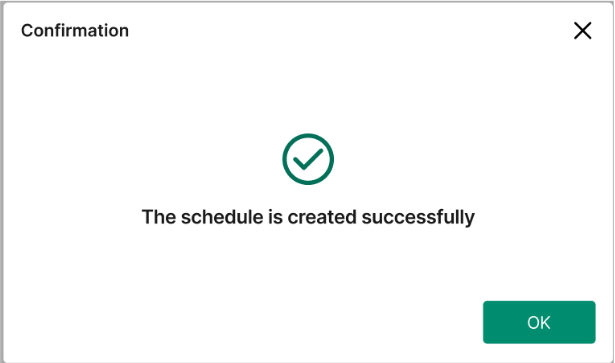
Fig 6. Confirmation message
Updated 7 days ago