Add currencies
This functionality allows you to add currencies to Virtual Accounts in bulk by uploading a CSV file. The update is processed in bulk and applies only to Virtual Accounts.
Example CSV
VirtualAccountNumber,CompanyNumber,CurrencyAccount,IsDefault
0000234567,000002345,0004344444,true
0000234567,000002345,0004344445,false
Use Cases
The endpoint supports two primary scenarios:
-
Add new currencies to an existing regional entity You can link additional Master Account currencies from the same company. 1. Provide the Master Account numbers to be linked in the CurrencyAccount column. 2. Use the CompanyNumberof the company under which the Virtual Account currently exists.
- If one of the new currencies should become the default currency of the Virtual Account, put true in the column IsDefault. Only one row per Virtual Account can have true is ** **. Put "false" in all rows if no change in default currency is required.
-
Add new currencies for a new regional entity If your Virtual Account does not yet have a regional entity for a given company, you can create one by linking Master Account currencies from that company.
- Provide the CompanyNumber of the new regional entity.
- Specify the Master Account numbers in the CurrencyAccount column.
- One of the Master Account currencies, must have true in the isDefault column.
Requirements- A Virtual Account can only have one open Master Account link per currency. A request with an already linked and open currency will return an error.
- The Virtual Accounts being modified must have **status **active
Updating UBO information steps
- Go to the Virtual Account section, click Edit customer details.
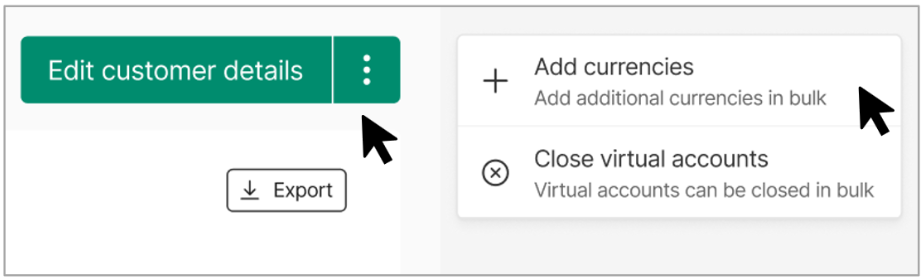
- This opens the Add currencies panel.
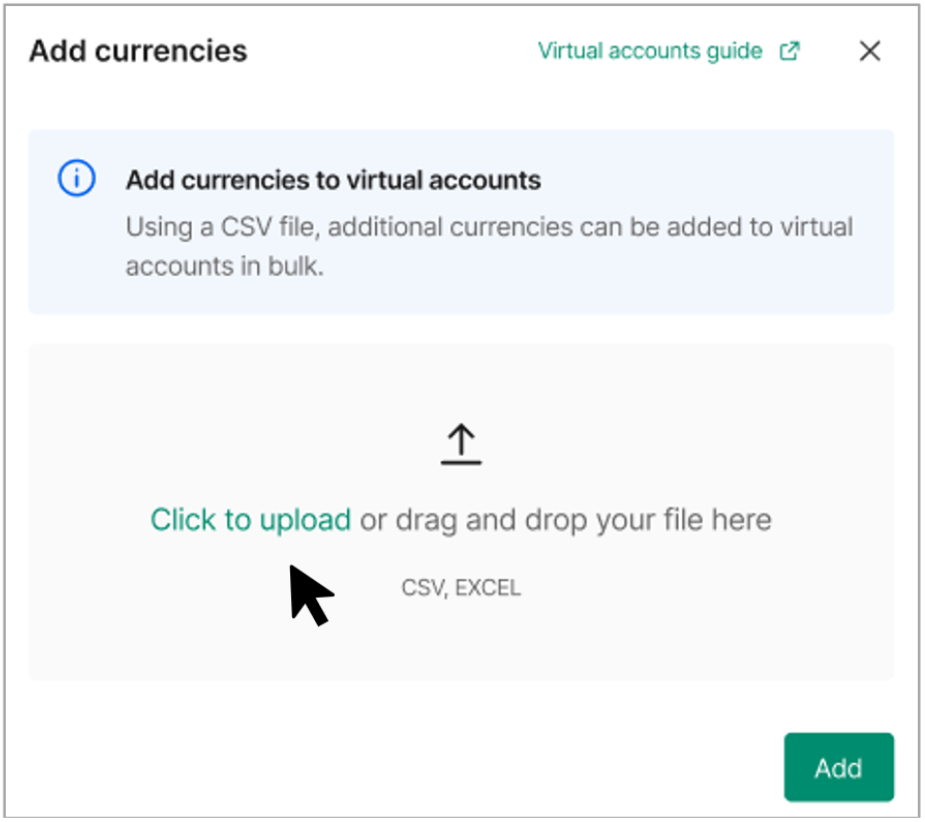
- Click to upload or drag and drop your CSV or Excel file into the upload area.
- The file must follow the required format and include all mandatory headers and fields.
- Take the Virtual Account and Company numbers you want to add currencies to and add the details you want to modify to your .csv file. In case you use Excel for file editing you should be aware of possible auto-formatting of content.
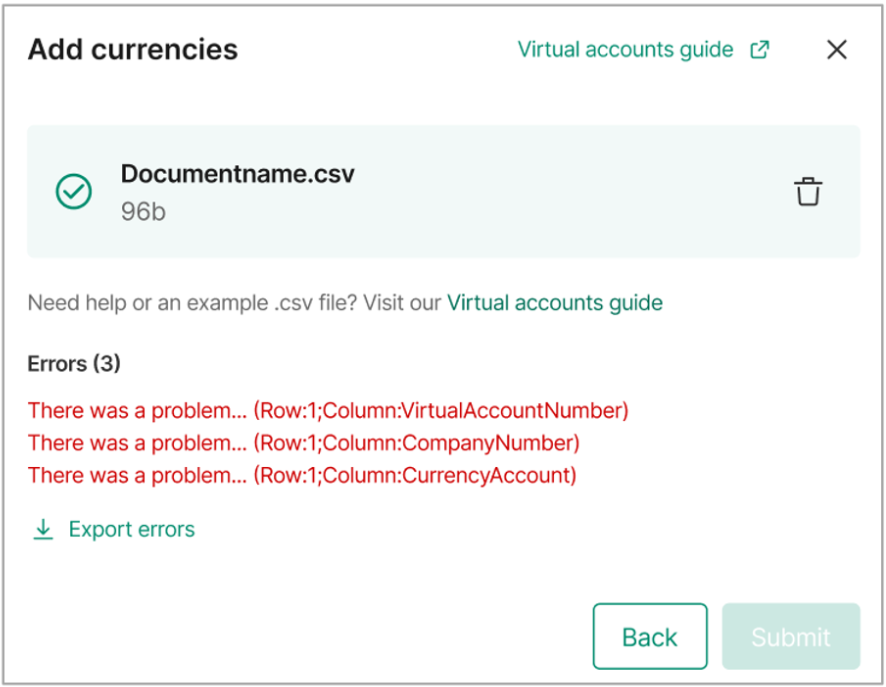
- Review validation results - after uploading the file, the system validates the content.
- If errors are found, they are listed, showing the row and column where the issue occurred.
- You can export the error list to review and correct the file.
- You must fix all errors before you can submit the update.
- Submit changes - once the file passes validation, click Submit.
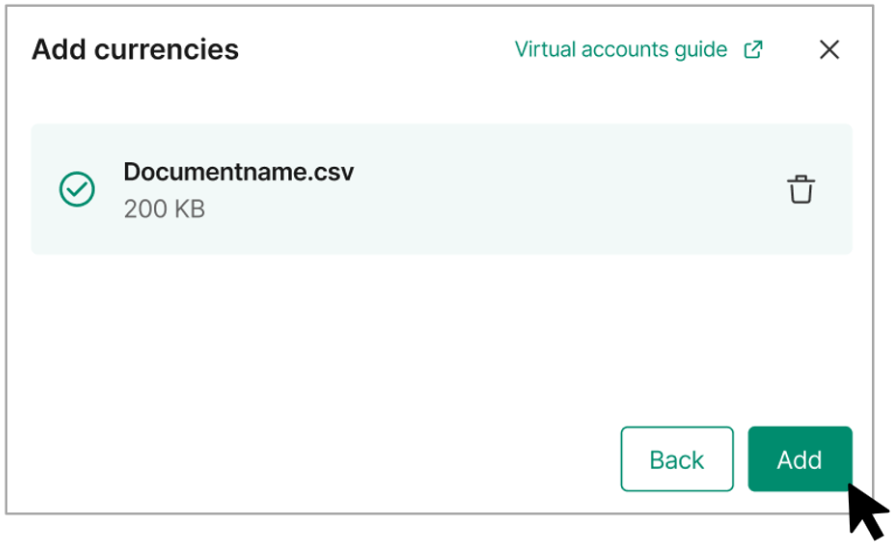
- The changes are processed in bulk.
- Confirmation - when the update is successful, you will see a confirmation message stating that the information has been updated.
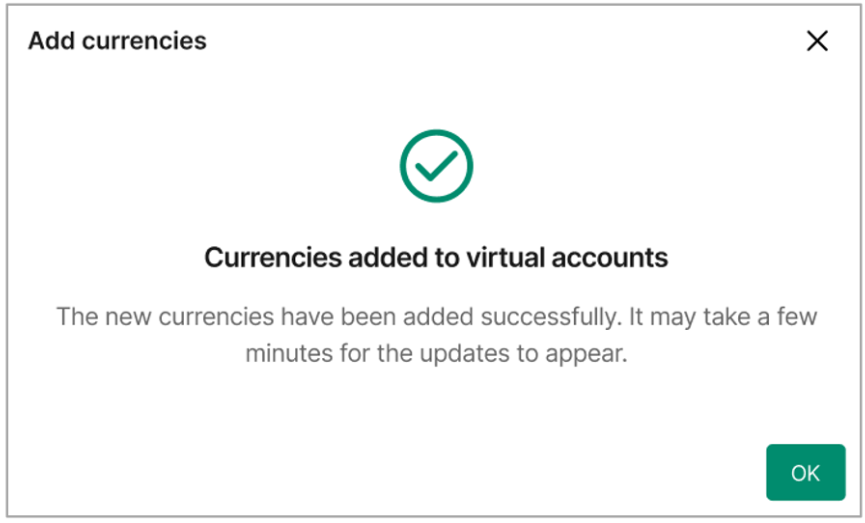
Note: The changes may take a few minutes to appear in the Client Portal.